
⚡ Image Resizer Tool
Drop image here or click to upload
JPG, PNG, WEBP up to 10MB
📷 Original
✨ Resized
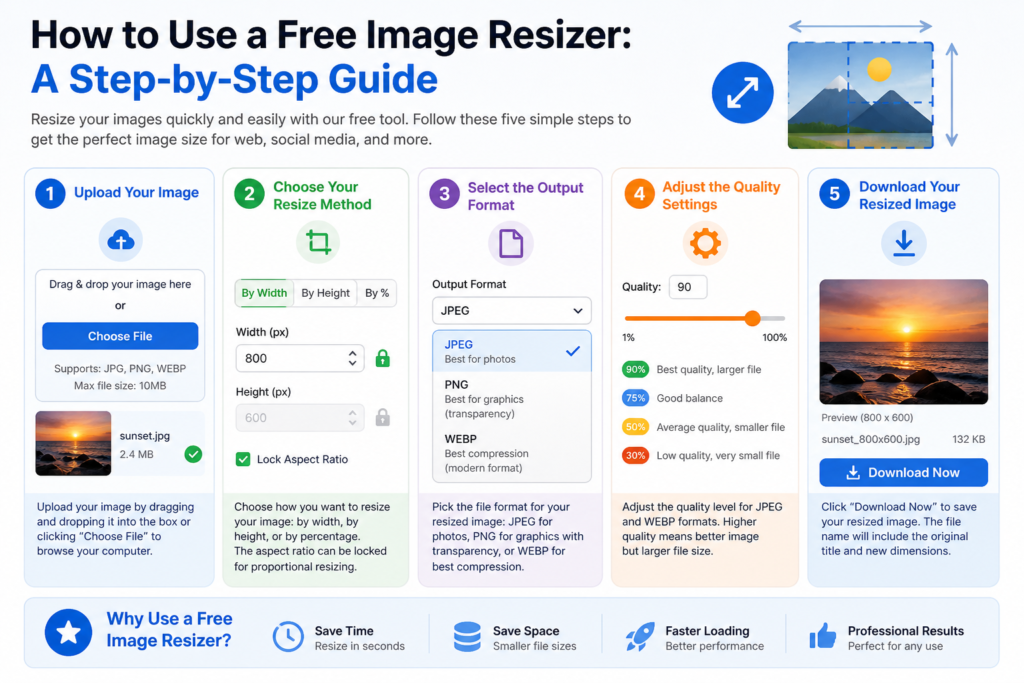
How to Use a Free Image Resizer:
A Step-by-Step Guide
Finding the right image size for a website or social media profile can be frustrating. Fortunately, a free image resizer solves this problem in just a few minutes. This tool helps you adjust photos without buying expensive software. Below is a simple guide to using a free image resizer effectively.
Step 1: Upload Your Image with a Free Image Resizer
First, you need to get your photo into the tool. A reliable free image resizer offers two easy upload methods. For instance, you can drag and drop a file directly from your computer. Simply grab the image and move it into the upload box.
Alternatively, click the “Choose File” button to browse your folders. This free image resizer supports common formats like JPG, PNG, and WEBP. Just remember that the maximum file size is usually 10MB. Therefore, check your image size before starting.
Step 2: Choose Your Resize Method
After the upload finishes, select how you want to change the dimensions. A good free image resizer typically provides three main options. First, you can resize by width. Enter a specific number of pixels, such as 800 for a blog image. Consequently, the height will adjust automatically if the aspect ratio is locked.
Second, try resizing by height for profile pictures or banners. Type in a value like 600 pixels, and the width changes on its own. Third, use the percentage method for quick scaling. Drag the slider between 10% and 200% to see instant changes. Remember that 100% keeps the original size, while 50% makes it half as large.
Step 3: Select the Output Format
Now, choose the file type for your resized photo. A versatile free image resizer lets you pick between JPEG, PNG, or WEBP. For example, JPEG works best for photos and complex images because it keeps the file size small. Meanwhile, PNG is ideal for logos or graphics that need transparency.
However, WEBP is the modern choice for the best compression. It delivers high quality with the smallest file size. Therefore, consider your specific needs before making a selection. Each format has unique benefits for different projects.
Step 4: Adjust the Quality Settings
Next, fine-tune the image quality for your resized photo. This step is only available for JPEG and WEBP formats. A powerful free image resizer allows you to set a quality level from 1% to 100%. For instance, choose 90% for the best quality and a slightly larger file. Alternatively, select 75% for a good balance between quality and size.
You might also pick 50% for average quality with a small file. In contrast, 30% produces low quality but a very tiny file. Consequently, think about where you will use the image. A website banner can handle lower quality, but a printed photo needs maximum detail.
Step 5: Download Your Resized Image
Finally, save the new image to your computer. Simply click the “Download Now” button to complete the process. A dependable free image resizer will name the file automatically. For example, you might see “sunset_800x600.jpg” as the output. The name includes the original title and the new dimensions.
After downloading, check the file in your preferred folder. Then, upload it to your website, social media, or email campaign. As a result, your images will load faster and look more professional. Using a free image resizer saves time and storage space instantly.