
⚡ Instant Collage Maker
Drag & drop 2 to 6 images here
Select Grid Grid Layout
Awaiting Image Selections...
How to Use the Instant Collage Maker to Upload Your Images
The first step in using the Instant Collage Maker is a simple image upload process that gets your project started immediately.
When you navigate to the page on your website,
you will see the clean and intuitive interface of the Instant Collage Maker waiting for you.
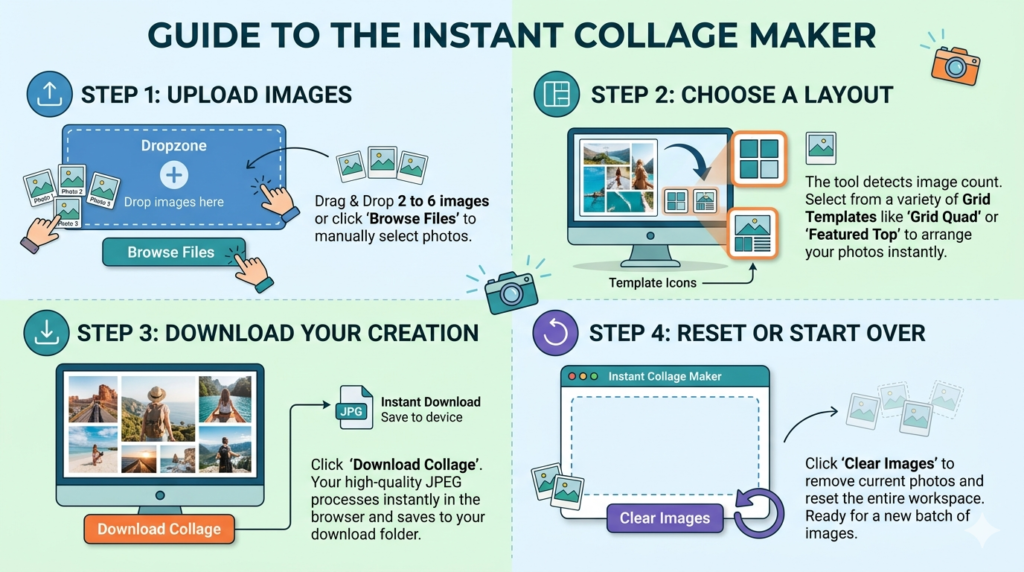
To begin, you can either drag and drop 2 to 6 images directly into the designated “Dropzone” area of the Instant Collage Maker, which is a very quick method.
Alternatively, you can click the “Browse Files” button provided by the Instant Collage Maker to manually select the photos from a folder on your computer,
giving you precise control over your selections.
How to Use the Instant Collage Maker to Choose a Layout
After your images are loaded, the intelligent design of the Instant Collage Maker allows the tool to automatically detect exactly how many photos you have uploaded.
A dynamic list of Grid Templates will then appear below the upload area on your Instant Collage Maker screen,
offering you a variety of arrangement options.
You can click on the different template icons provided by the Instant Collage Maker to change the visual flow and arrangement of your pictures instantly.
In fact, you can effortlessly toggle between different layout styles within the Instant Collage Maker,
such as the “Featured Top” option or the balanced “Grid Quad,” to visually test which composition looks best for your specific set of photos.
How to Use the Instant Collage Maker to Download Your Creation
Once you are happy with the final layout you have previewed, the next step with the Instant Collage Maker is to secure your artwork.
You will need to click the clearly labeled “Download Collage” button that is positioned at the bottom of the Instant Collage Maker interface.
Subsequently, the Instant Collage Maker will process your arranged images into a single high-quality JPEG file directly within your browser.
The Instant Collage Make will then prompt your browser to save the finished file to your device’s download folder, allowing you to use the collage instantly.
How to Use the Instant Collage Maker to Reset or Start Over
Creating a new project is just as seamless when you use the reset function of the Instant Collage Make.
If you want to discard the current selection and create a completely different collage,
you can simply click the “Clear Images” button provided by the Instant Collage Make.
This action immediately removes the current photos and resets the entire workspace of the Instant Collage Make back to its empty state.
After that, the Instant Collage Make is ready for you to upload a fresh batch of images and begin the creative process all over again.
Pro-Tips for Getting the Best Results from the Instant Collage Maker
You will achieve the most polished visual results when you limit your project to 6 images, as the Instant Collage Make is optimized for this exact range.
Because of this optimization, the Instant Collage Make ensures the layout remains clean and the processing remains lightning-fast.
Furthermore, if you are working on a laptop or desktop computer, you should definitely use the fullscreen option provided by the Instant Collage Make.
You can click the “Full Screen” button at the top right of the Instant Collage Make to get a much better and more detailed view of your grid before you download it.
Finally, you never have to worry about waiting, because the Instant Collage Make processes everything directly in your computer’s browser memory.
Consequently, you do not see a traditional loading bar that connects to a server,
as the Instant Collage Make is uniquely designed to work instantly and privately on your device.